
![[開箱] IFOOTAGE RB-A400 圓形底座腳架|不佔空間、穩固不倒、耐重更安心](http://photo.minwt.com/img/Content/DC/rba400/00xs.jpg)
使用器材:
燈具:南冠LED
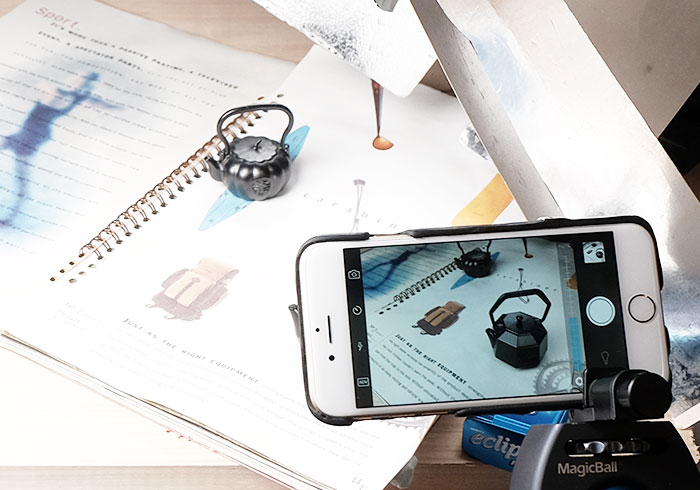
相機:iPhone6
輔助工具:反光板
相機:iPhone6
輔助工具:反光板
打光示意圖:

打光實景圖:

Step1
此次梅干特別挑選,經典的八角鑄鐵壺,正好可練習反光板的應用,但首先要先有光,這時燈由左斜前方,向鑄鐵壺前方的第一個角面打,除了打亮外,並調整角度,讓鑄鐵表面的紋理給呈現出來。
打光示意圖:

實拍:

Step2
接著在右前方加一片反光板,將第二個角面反亮,但比第一個角面稍稍暗一些。
打光示意圖:

實拍:

Step3
在斜右後方,再加片反光板,讓第三個角面變亮,但須注意到,這面要比前二面更暗一些,這樣才能營造出明暗的層次感。
打光示意圖:

實拍:

Step4
三個角面都處理好後,接著用一張橫的反光板,將壺面前方的文字給反亮外,同時將角面的邊線光給描繪出來。
打光示意圖:

實拍:

Step5
這時再斜右後方,再加片反光板,將壺的側邊角面給反亮。
打光示意圖:

實拍:

Step6
最後再用大一點的反光板,並調整反光板角度,讓壺蓋產生出漸層光。
打光示意圖:

實拍:

Step7
最後再到Photoshop中,調整色溫與加一點對比,這樣就大功告成啦!
