

使用器材:
燈具:南冠LED、神牛36顆LED
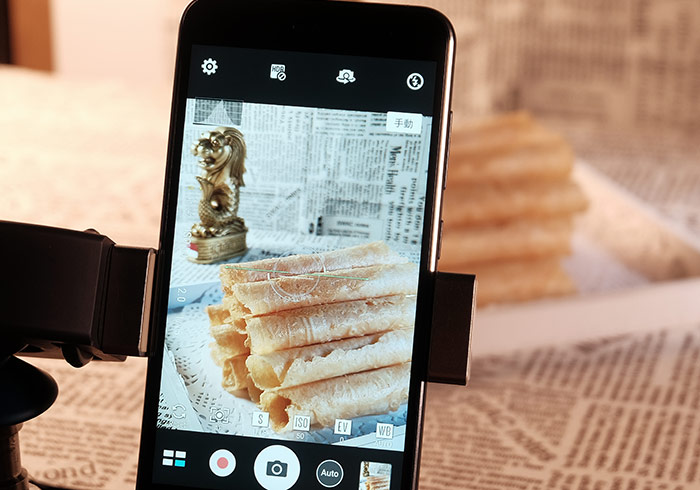
相機:ASUS ZenFone3
鏡頭:三星增距鏡、Canon 250D近攝片
相機:ASUS ZenFone3
鏡頭:三星增距鏡、Canon 250D近攝片
打光示意圖:

打光實景圖:

Step1
首先,用標準罩加蜂巢罩,並從斜右後方,將蛋捲表面的紋理給呈現出來。
打光示意圖:

實拍:

Step2
接著在斜右前方,加入另一盞LED燈,並將色溫調低一點,營造出金黃感。
打光示意圖:

實拍:

Step3
最後在左斜後方,再加入一盞LED燈,一樣將色溫調低,並將亮度調亮一點,打在蛋捲上方,讓表面產生酥脆感。
打光示意圖:

實拍:

Step4
再進Photoshop修正一下整體的亮度與色溫,就大功告成啦!
