

使用器材:
燈具:南冠LED、神牛36LED、海力歐
相機:iPhone6
輔助工具:黑色壓克力板、黑色背景紙、標準罩
相機:iPhone6
輔助工具:黑色壓克力板、黑色背景紙、標準罩
打光示意圖:

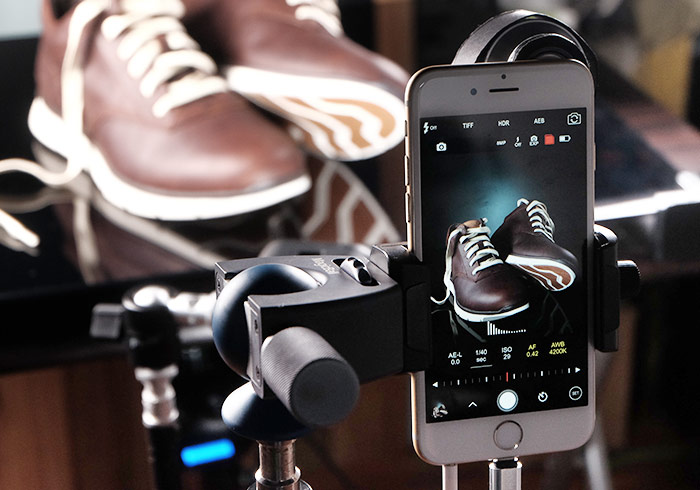
打光實景圖:

Step1
首先在背面加一盞燈,並用標準罩,做出漸層光效果,將背景與桌面區隔開來。
打光示意圖:

實拍:

Step2
接著在左邊加一盞平板燈,並調整高度,將鞋面的轉角給表現出來。
打光示意圖:

實拍:

Step3
在右邊再加盞燈,並調燈的方向,讓燈只打在右邊的鞋頭與側邊,但這隻的燈的強度,要比較弱一點,讓左右亮度呈現出一點對比,除了立體感比較好外,皮的質感看起來也會比較優質。
打光示意圖:

實拍:

Step4
最後在前方加一盞神牛的36顆的LED燈,將鞋底與鞋頭打亮。
打光示意圖:

實拍:

Step5
接著再到Photoshop,將後方偏藍的顏色給修正,這樣就大功告成啦!是不是超EZ且質感又很更棒。
