

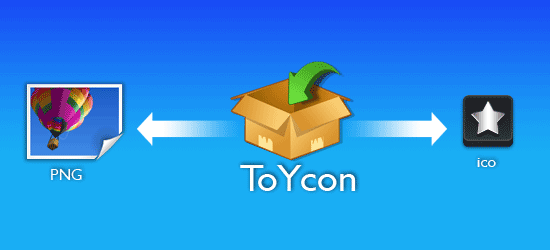
先前曾分享過,利用Photoshop直接將影像轉成icon圖示檔,但並非大家都有Photoshop,所以今天要來分享個好東西,即使不用Photoshop也可輕鬆將一般的圖像轉成icon圖示,除此之外ToYcon也可將icon轉成PNG檔,相當的小巧好用,為了讓大家可以使用起來更順手,梅干花了點時間,把它翻成中文,至於翻不好的部分就請各位多見諒啦!
ToYcon
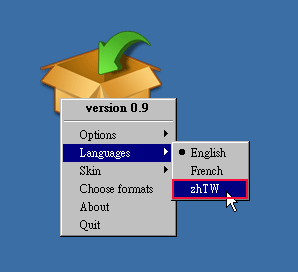
Step1
下載完畢後,解壓並雙響ToYcon.exe,開啟後對著該圖示按滑鼠右鍵選擇Languages / zhTW。
Step2
哈~這樣就變中文啦!接著一樣按右鍵,在選項的地方可設定工具的顯示方式。
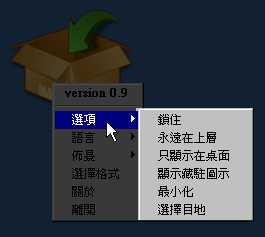
Step3
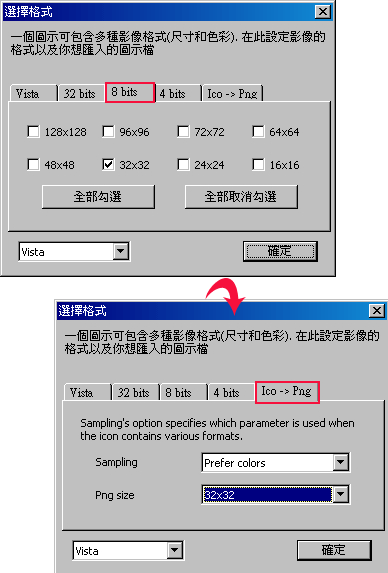
設定好顯示方式後,接著再點選【選擇格式】。
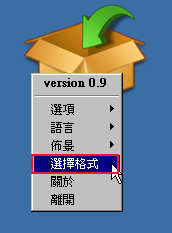
Step4
在32bits、8bits、4bits,這些是用來設定轉出icon的格式,Ico->Png是用來設定轉出Png格式的大小
。
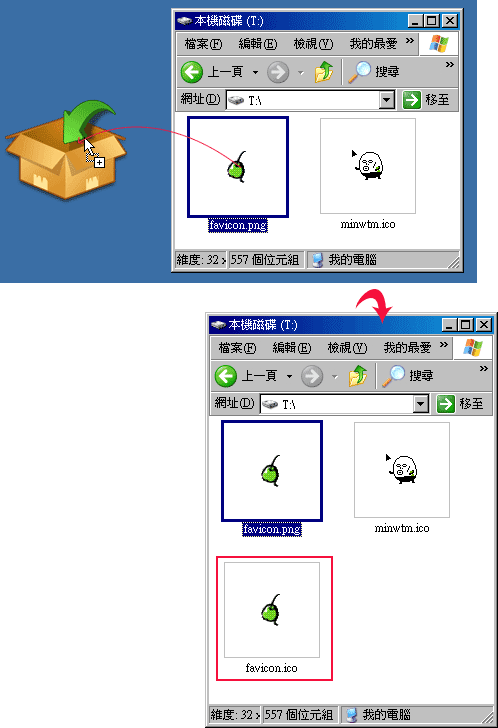
Step5
只要將要轉的檔案,直接拖拉到圖示上,放開後在該檔案同路徑下,就會多一個.ico檔。
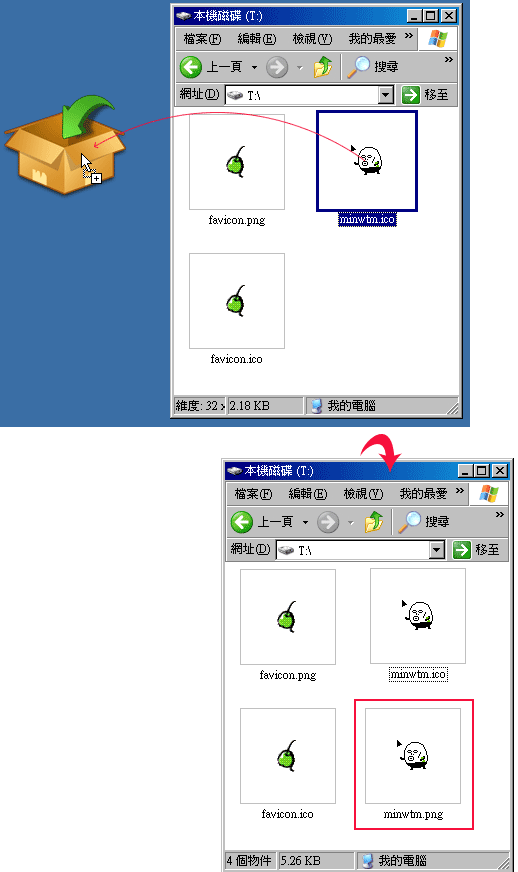
Step6
要將ico轉成png也是一樣,直接拖拉進去就行了。
有了ToYcon就真的方便很多,就可以使用自已習慣的影像編輯軟體來作設計,最後再用它來將檔案轉存成ico檔,另外最好是使用png檔,這樣圖示就可作出半透明以及去背的圖示。