

前一陣子,梅干曾發生Gmail的帳號被盜用,而梅干第一時間就馬上更換密碼,為了防止被盜用梅干一段時間就會替換密碼,但現在不用這麼麻煩啦!Google推出一項新服務,兩步登入驗證,讓帳號更安全,而所謂的兩步驗證就是,一開始先輸入所設定的密碼,登入後會要求再輸入一個驗證碼,這驗證碼則是透過手機所產生的,如此一來就可確定是本人,而要怎麼開通這項服務呢?方法很簡單~
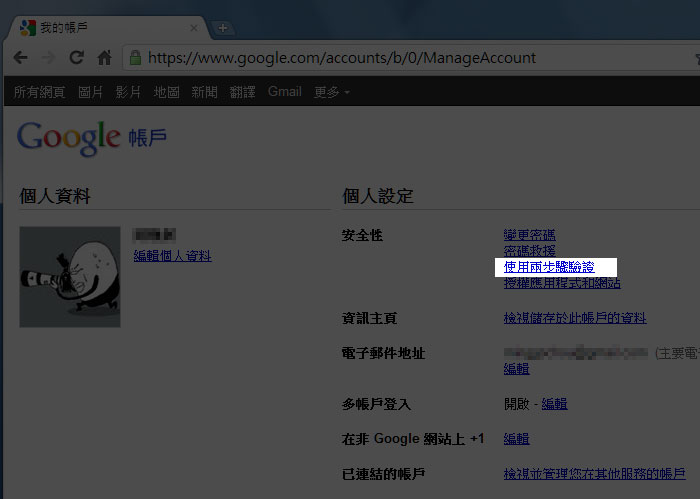
Step1
登入Google帳號,進入個人帳戶中,點下使用兩步驟驗證連結。
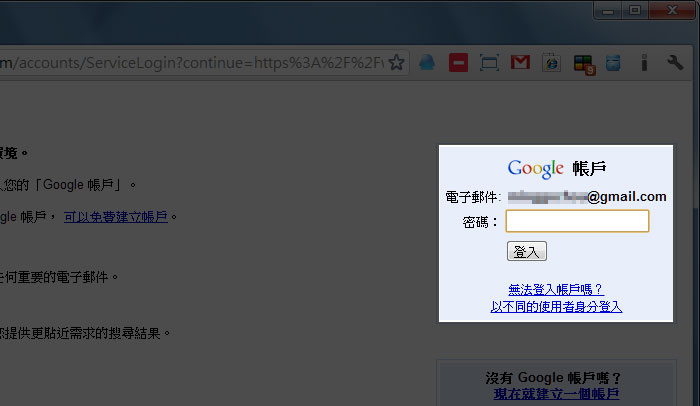
Step2
接著則會要求再次輸入密碼。
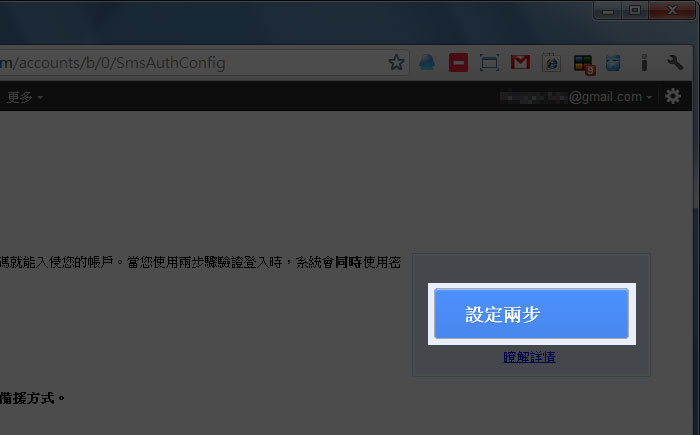
Step3
登入後再點設定兩步鈕。
Step4
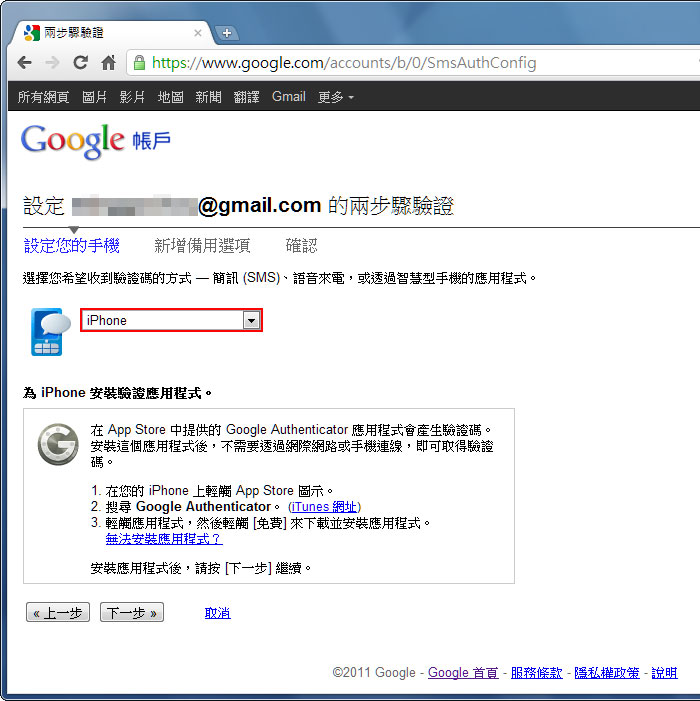
接著可選擇驗證的方式,若有智慧型手機的朋友們,選擇智慧型會比較方便些,這邊梅干是選擇iPhone,接著則會要求下載Google Authenticator的應用程式,這時再按下一步。
Step5
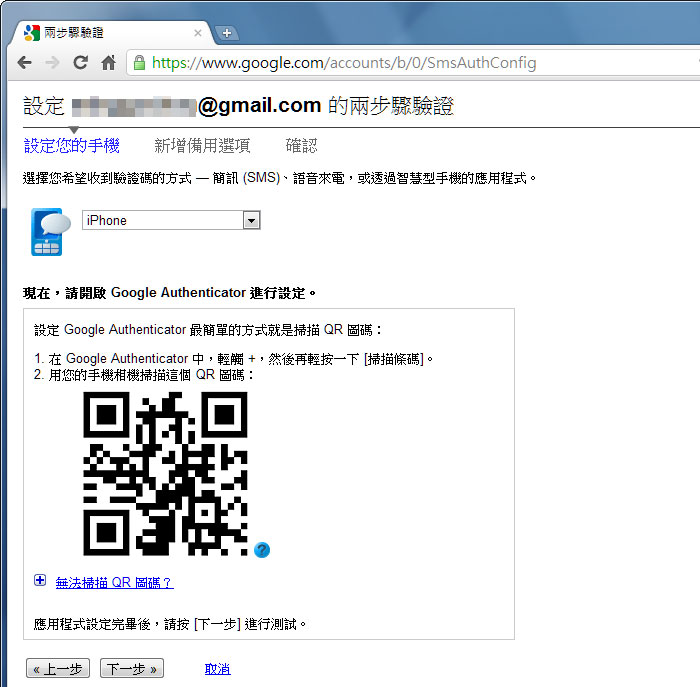
這時畫面就會出現一個QRCode圖示,先別按下一步拿出iPhone手機。
Step6
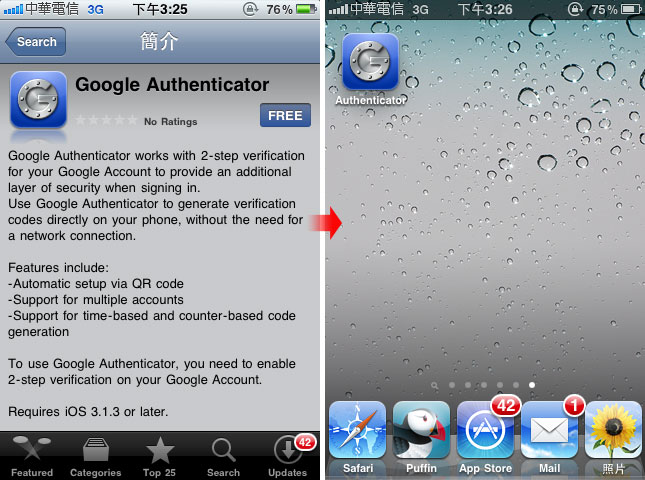
進到AppleStore後,下載Google Authenticator。
Step7
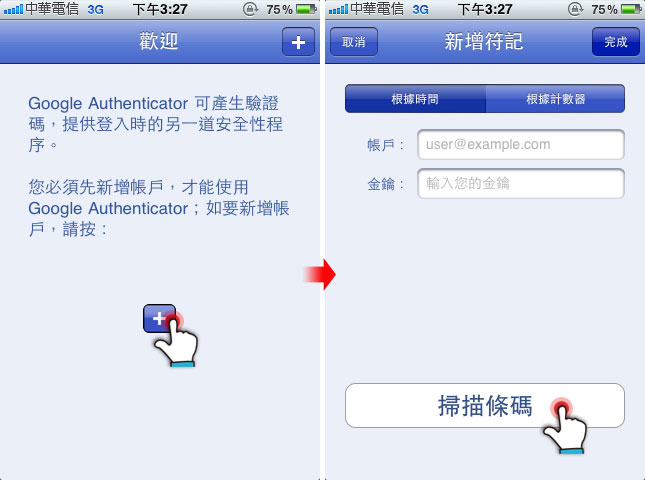
進入Google Authenticator應用程式後,點一下加號,再按下方的掃描條碼,再將手機對著螢幕中的QRCode照一下。
Step8
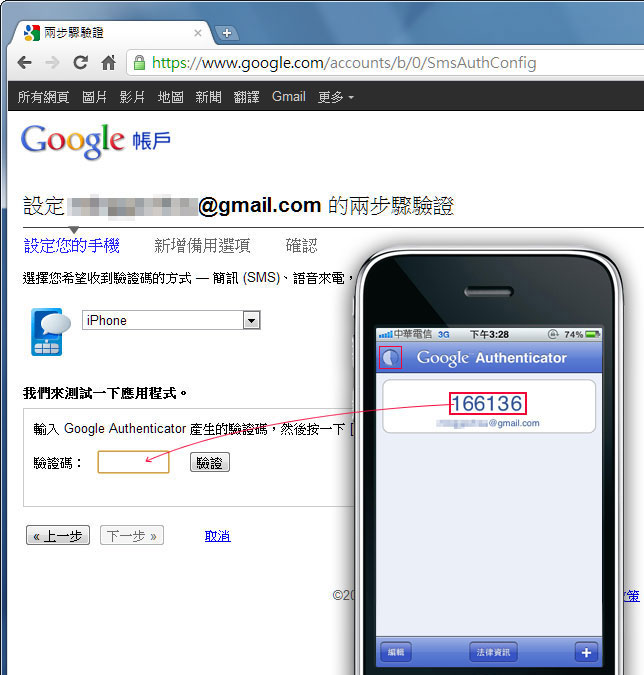
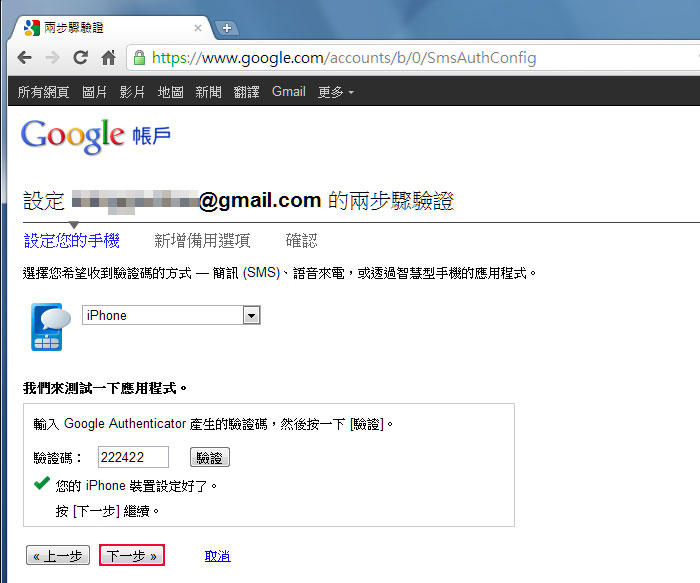
掃完後手機就會出現一串數字,這時將這數字輸到網頁中。(左上角有一個倒數器,時間到會不斷的更換驗證碼)
Step9
輸入好後再按下一步。
Step10
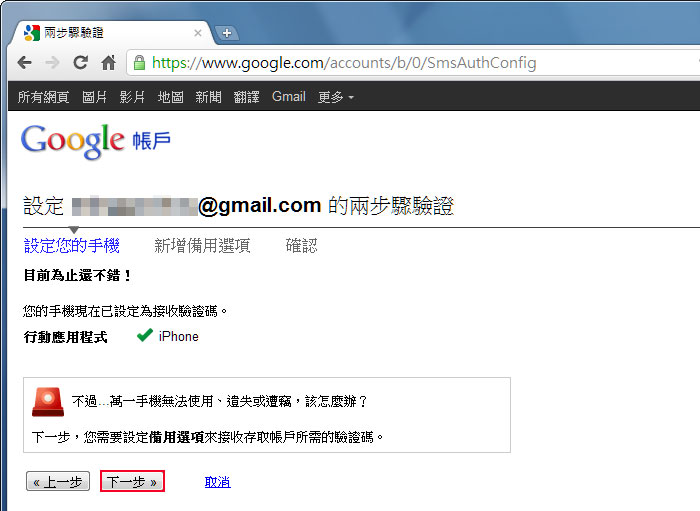
再按下一步。
Step11
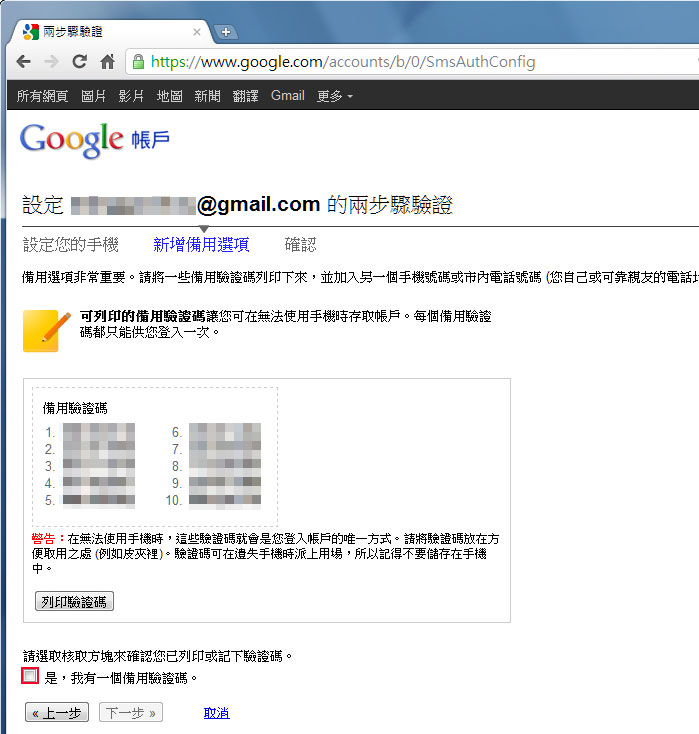
這時請務必保管好下方的備用驗證碼,以防某天手機不見時,可用下方的碼來作驗證。
Step12
接著再輸入備用的手機,並設定傳送的方式。
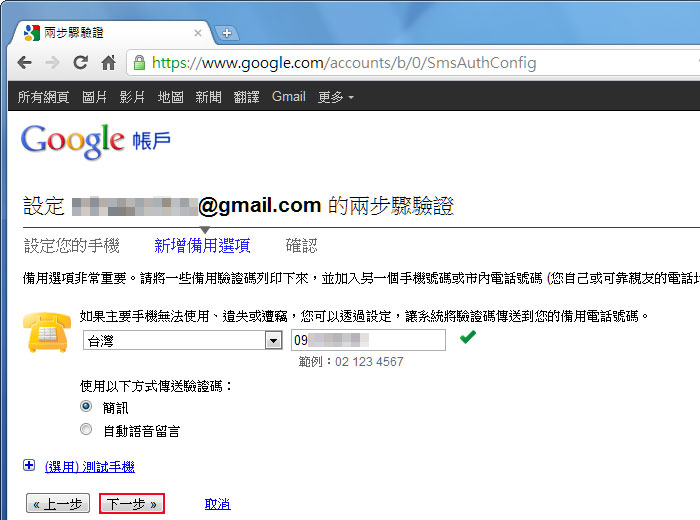
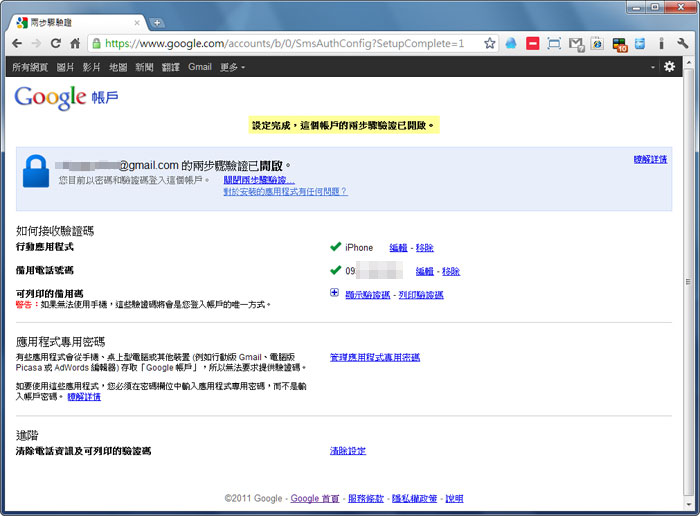
Step13
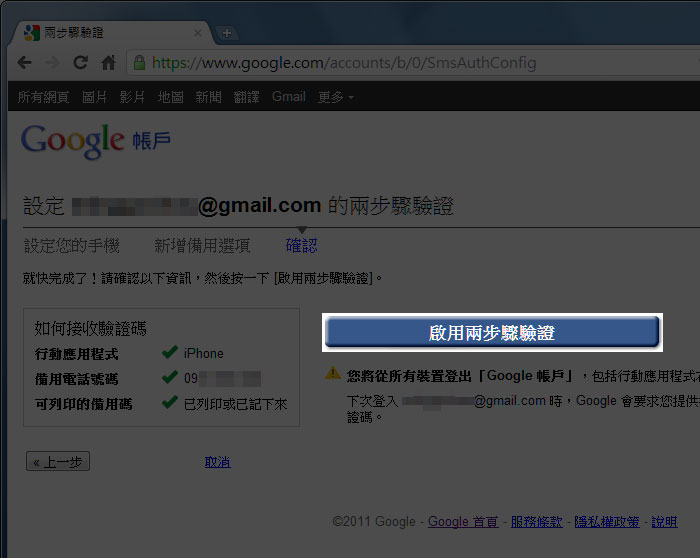
最後再按下啟用兩步驟驗證就大功告成囉!
Step14
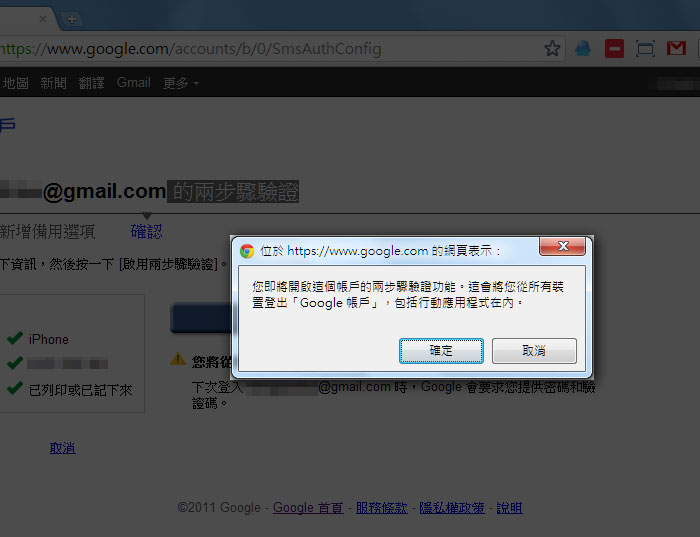
再按確定鈕。
Step15
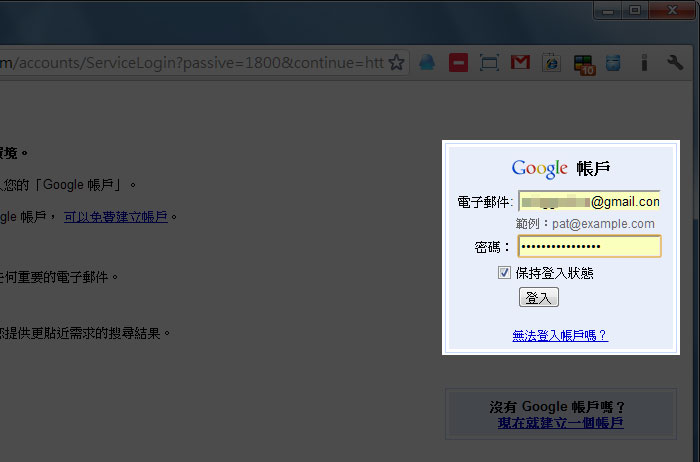
完成後,就會登出,這時再輸入一次密碼。
Step16
接著就會出現驗證碼,這時開啟手機,依照手機上方的數字輸入。
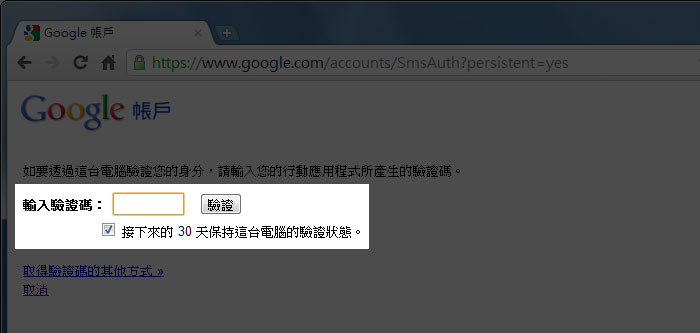
Step17
這時若無其它Google服務的話,按稍後再進行就可以了。

Step18
這樣就已登入完成了。
若你也有在用Google相關服務的朋友們,可開啟兩步驟驗證,讓你的帳號更加安全,即便被猜中密碼,若無驗證碼還是無法登入的,且就算手機掉了,還有備份的驗證碼,這點可真是貼心,若無智慧型手機的朋友,就得透過簡訊的方式來傳送驗證碼,比較麻煩些,但還是可用。