Bootstrap是目前相當火紅,且最廣為被使用的RWD框架,甚至也有不少的網頁開發工具,紛紛的支援Bootstrap,但大部分支援的網頁開發工具,都以原始碼的編輯模式,來進行設計,但這對於早以習慣Dreamweaver全視覺化的網頁設計師們,一時要從全視覺化,變成全文字模式,透過原始碼一個一個將版型給刻出來,還真是讓許多網頁設計吃不消。
因此梅干也不斷在尋找,是否有比較視覺化的網頁設計軟體,並支援Bootstap框架,因此先前梅干也曾分享過,幾款的視覺化的Bootstrap編輯工具,但支援度都不夠完整,而最近梅干發現一套,不但支援度完整,同時操控更簡易的全視覺化網頁編輯軟體Pinegrow Web Editor,而這套網頁編輯器,不但全視覺化的產生Bootstrap所有架構外,甚至還可開發WordPress的佈景主題,同時相當的好上手,因此有在使用Bootstrap的朋友,與需要開發WordPress佈景主題的朋友,這款全視覺化的網頁軟體絕不容錯過喔!
Pinegrow Web Editor:
Step1
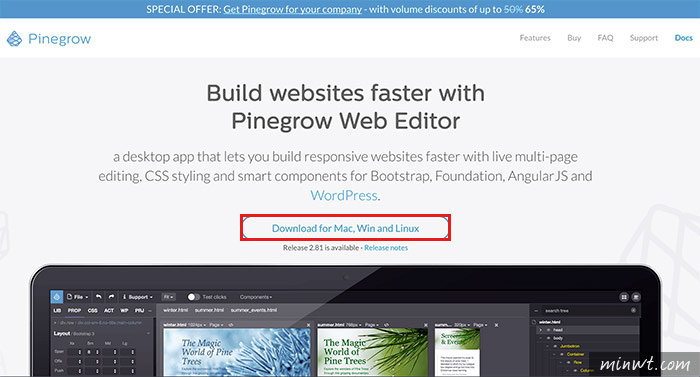
進入軟體官網,點畫面中的下載鈕,將軟體下載回來。
Step2
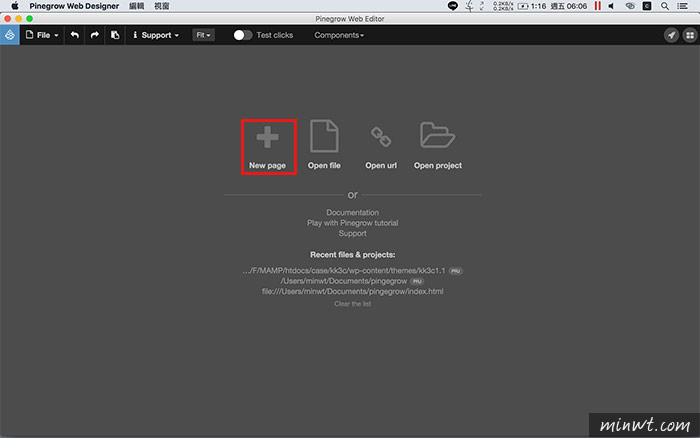
下載回來,雙響完成安裝後,啟用軟體並點一下+號,建立一個網頁。
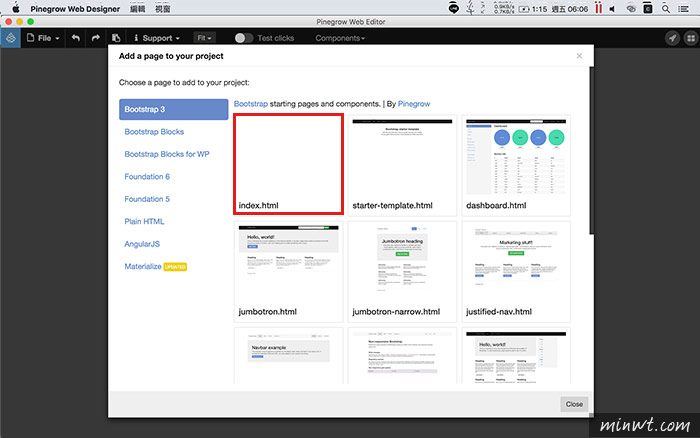
Step3
接著選擇所需的框架,再點一下範本。
Step4
建立好後,左手邊就是所有Bootstrap可用的框架與特效。
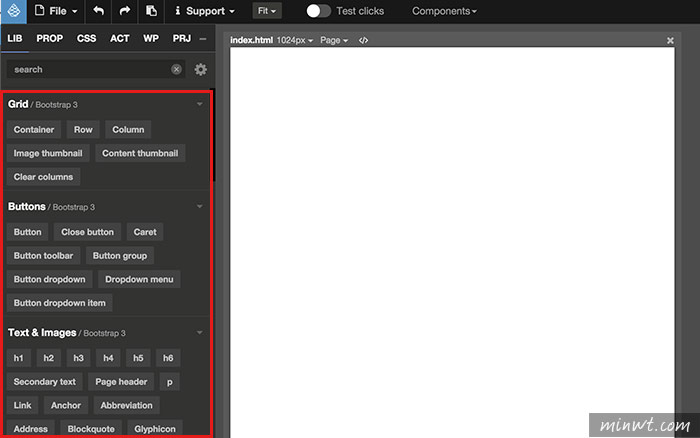
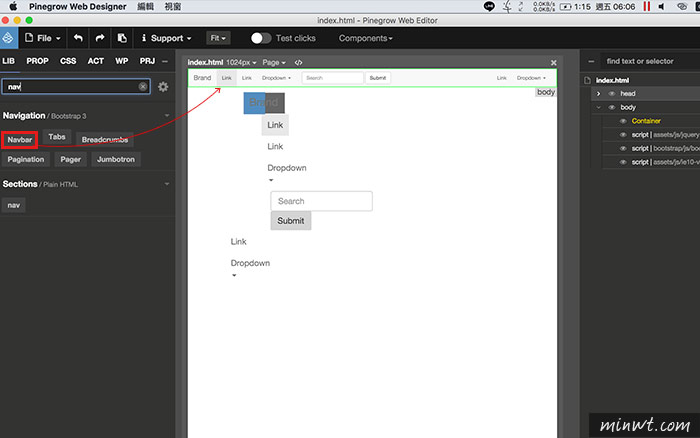
Step5
除了透過區塊選擇所需的效果外,也可用搜尋的方式,找到後再將效果直接拖拉到中間白色的編輯區域中。
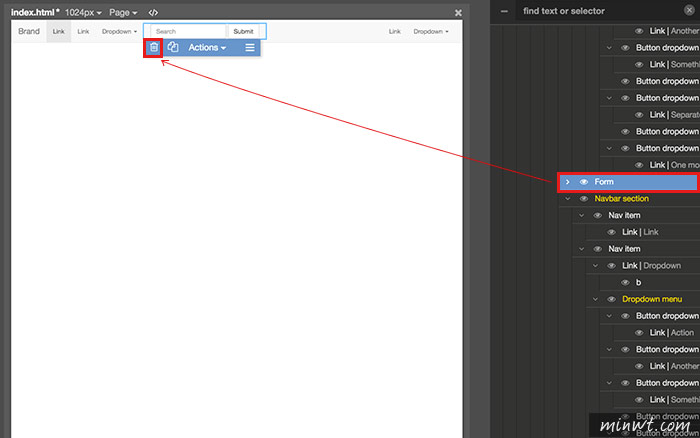
Step6
這時最右邊,就會看到整個樹狀結構,可點選標籤進行區塊的選擇,當不要時可直接按鍵盤的del鍵外,也可按元件下方的垃圾桶,將元素刪除。
Step7
甚至加入廣告輪播特效後,還可設定輪播圖片的路徑。
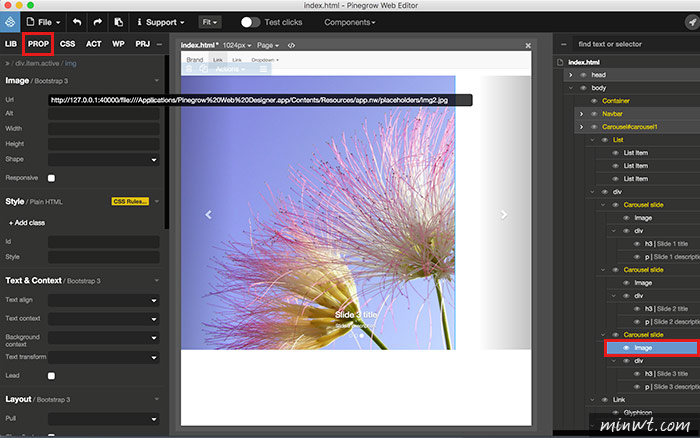
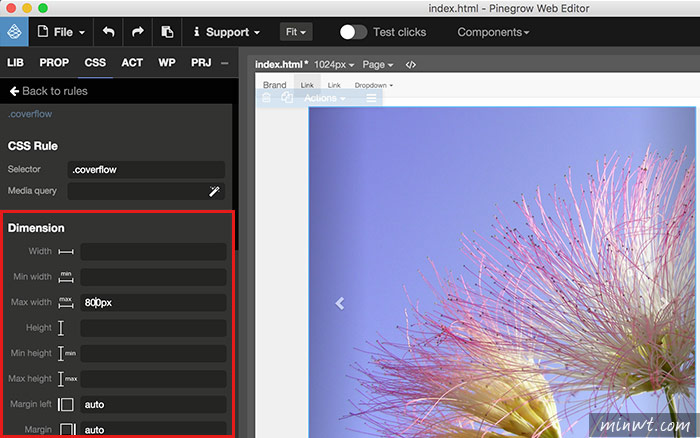
Step8
同時也可設定CSS,並切換上方的頁籤,就可針該元件設定CSS的樣式,每個CSS元素後方都有圖示方便理解。
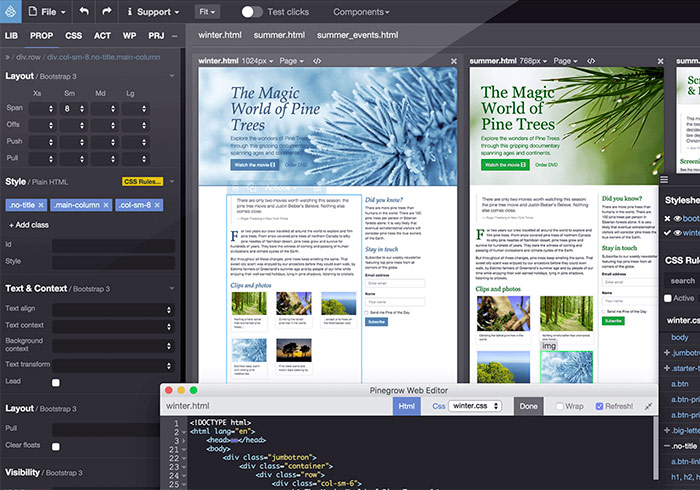
Step9
除了全視覺化設計外,也可開啟原始碼編輯模式。
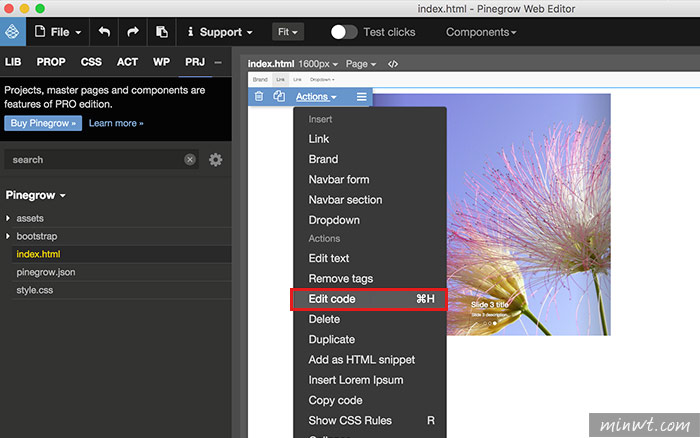
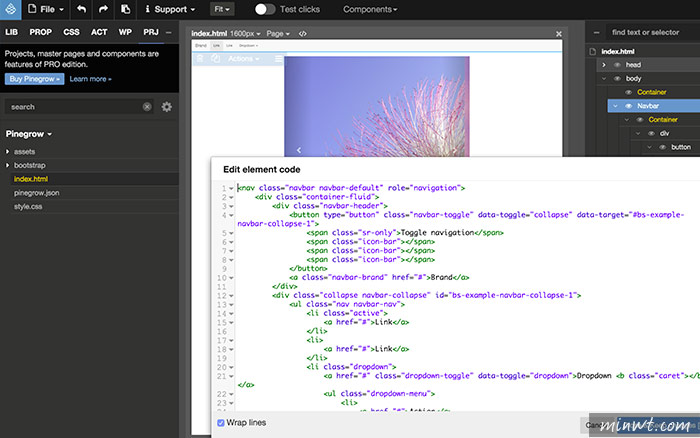
Step10
這時只會開啟剛所選擇元件的原始碼,方便進行細部的修正。
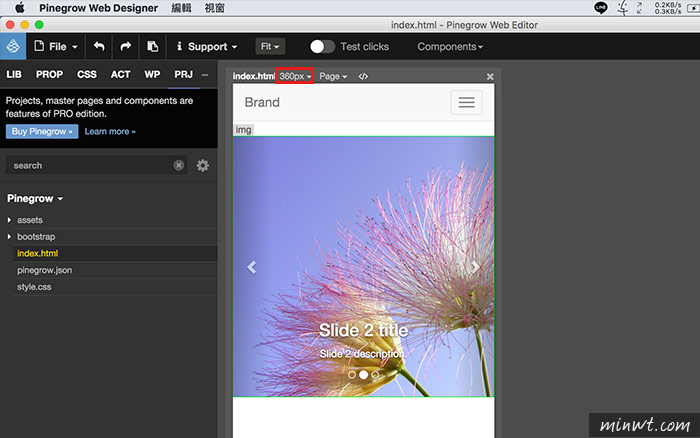
Step11
當都編輯好後,也可從上方修改預覽的尺寸,這時畫面也會跟著一起縮放,而這套Pinegrow Web Editor的功能還蠻強大的,同時可編輯的東西也相當的多,因此習慣視覺化的網頁編輯軟體,這一款有空可以體驗看看喔!