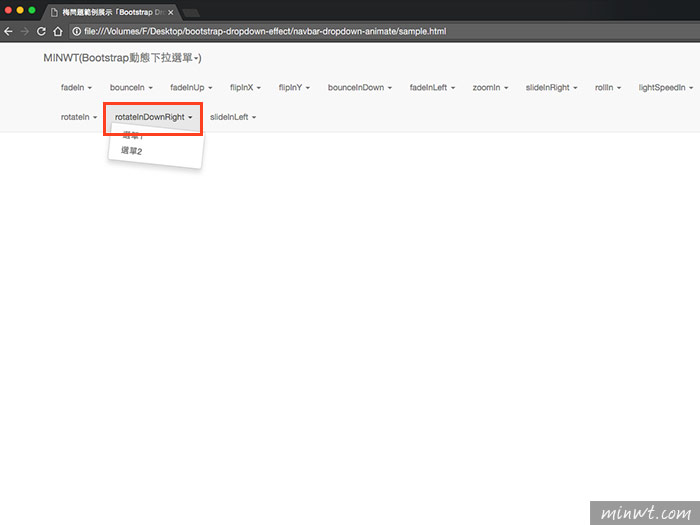
Bootstrap是目前最受歡迎的RWD套件,除了有強大又好用的網格系統外,再來就是內建了許多實用的互動功能,而網站中最常使用到就是導覽列選單,透過選單使用者就可以快速的找到所需的項目,同時這個導覽列選單,在建立上相當的簡單,更重要的是完全不用寫到任何的Javascript,只需依照它的選單HTML結構,就可快速的產生出所需的導覽列選單。
當建立好導覽列選單後,點撃選單時,就會開啟或隱藏選單,完全沒有任何花俏的特效,而現在只要將Animate.css的動畫引用後,立即就可讓Bootstrap的導覽列選單動起來,像是常見的淡入淡出或是彈跳、旋轉、飛進飛出…..等,完全不會CSS3動畫也能輕鬆上手,至於要怎麼將Animate.css這個動畫套件,整合到Bootstrap中現在就一塊來看看吧!
Step1
首先將Animate.css引用到網頁中。
放在<head>~</head>之間
Step2
將tutorial.js放到</body>上方。
tutorial.js
/* ========================================================================
* Tutorial specific Javascript
*
* ========================================================================
* Copyright 2015 Bootbites.com (unless otherwise stated)
* For license information see: http://bootbites.com/license
* ======================================================================== */
var dropdownSelectors = $(‘.dropdown, .dropup’);
// Custom function to read dropdown data
// =========================
function dropdownEffectData(target) {
// @todo – page level global?
var effectInDefault = null,
effectOutDefault = null;
var dropdown = $(target),
dropdownMenu = $(‘.dropdown-menu’, target);
var parentUl = dropdown.parents(‘ul.nav’);
// If parent is ul.nav allow global effect settings
if (parentUl.size() > 0) {
effectInDefault = parentUl.data(‘dropdown-in’) || null;
effectOutDefault = parentUl.data(‘dropdown-out’) || null;
}
return {
target: target,
dropdown: dropdown,
dropdownMenu: dropdownMenu,
effectIn: dropdownMenu.data(‘dropdown-in’) || effectInDefault,
effectOut: dropdownMenu.data(‘dropdown-out’) || effectOutDefault,
};
}
// Custom function to start effect (in or out)
// =========================
function dropdownEffectStart(data, effectToStart) {
if (effectToStart) {
data.dropdown.addClass(‘dropdown-animating’);
data.dropdownMenu.addClass(‘animated’);
data.dropdownMenu.addClass(effectToStart);
}
}
// Custom function to read when animation is over
// =========================
function dropdownEffectEnd(data, callbackFunc) {
var animationEnd = ‘webkitAnimationEnd mozAnimationEnd MSAnimationEnd oanimationend animationend’;
data.dropdown.one(animationEnd, function() {
data.dropdown.removeClass(‘dropdown-animating’);
data.dropdownMenu.removeClass(‘animated’);
data.dropdownMenu.removeClass(data.effectIn);
data.dropdownMenu.removeClass(data.effectOut);
// Custom callback option, used to remove open class in out effect
if(typeof callbackFunc == ‘function’){
callbackFunc();
}
});
}
// Bootstrap API hooks
// =========================
dropdownSelectors.on({
"show.bs.dropdown": function () {
// On show, start in effect
var dropdown = dropdownEffectData(this);
dropdownEffectStart(dropdown, dropdown.effectIn);
},
"shown.bs.dropdown": function () {
// On shown, remove in effect once complete
var dropdown = dropdownEffectData(this);
if (dropdown.effectIn && dropdown.effectOut) {
dropdownEffectEnd(dropdown, function() {});
}
},
"hide.bs.dropdown": function(e) {
// On hide, start out effect
var dropdown = dropdownEffectData(this);
if (dropdown.effectOut) {
e.preventDefault();
dropdownEffectStart(dropdown, dropdown.effectOut);
dropdownEffectEnd(dropdown, function() {
dropdown.dropdown.removeClass(‘open’);
});
}
},
});
Step3
當要使用時,只需將紅色文字,替換成Animate中的效果名稱就可以了。
<a href="#" data-toggle="dropdown" role="button" aria-haspopup="true" aria-expanded="false">fadeIn <span class="caret"></span></a>
<ul class="dropdown-menu" role="menu" aria-labelledby="dropdownMenu1" data-dropdown-in="fadeIn" data-dropdown-out="fadeOut">
<li><a href="#">選單1</a></li>
<li><a href="#">選單2</a></li>
</ul>
</li>
Step3
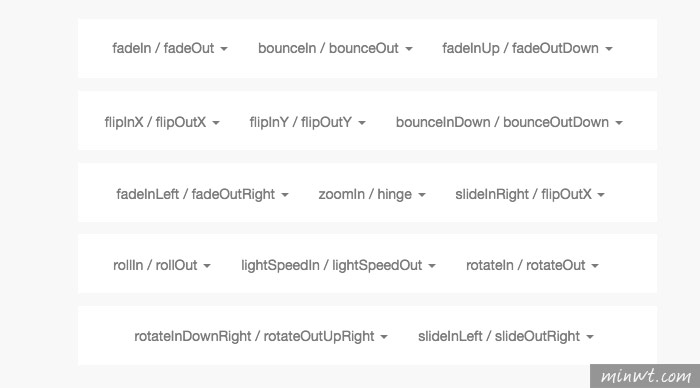
下方是Animate所有的特效名稱。
Step4
完成之後,當滑鼠點到選單後,立即就會呈現出各種的不同的動畫特效,是不是超簡單的呀!因此有在使用Bootstrap的朋友,也趕快加入Animate.css,讓你的選單動起來吧!