
使用flickr的朋友,應該對於flickr的相片牆不感陌生,而flickr的相片牆有別於瀑瀑流,而是橫向式的將所有照片進行堆疊,由於照片有橫向有直向,因此在排列時,讓照片的區塊有大大小小,再加上一列裡的照片數量也不一,讓相片牆看起來相當的豐富,而這個相片牆,其實透過Boostrap的網格系統,就能快速的製作出來,同時也可任意的調整每列的相片數量,因此要如何利用Bootstrap的網格系統,製作出flickr的相片牆,現在也一塊來看看吧!
Step1
首先,將相片牆的版型,透過Bootstrap的網格系統,先製作出來。
[html]
<div class="container">
<div class="row">
<div class="col-md-4">
<div class="half">A</div>
<div class="half">B</div>
</div>
<div class="col-md-8"><div>C</div></div>
</div>
<div class="row">
<div class="col-md-3"><div>D</div></div>
<div class="col-md-6"><div>E</div></div>
<div class="col-md-3"><div>F</div></div>
</div>
<div class="row">
<div class="col-md-5"><div>G</div></div>
<div class="col-md-2"><div>H</div></div>
<div class="col-md-5"><div>I</div></div>
</div>
</div>
[/html]
Step2
將HTML的區塊規畫好後,再加入CSS作區塊的設定。
[css]
div[class^="col"]{
padding-left:1px;
padding-right:1px;
margin-bottom: 1px;
}
.row{
margin-bottom: 1px;
}
.row>div>div{
border:solid 1px #333;
}
.row:nth-of-type(1)>div[class^="col"]>div{
height: 400px;
}
.row:nth-of-type(1)>div[class^="col"]>div.half{
height: 200px;
}
.row:nth-of-type(1)>div[class^="col"]>div.half:nth-of-type(1){
margin-bottom: 1px;
}
.row:nth-of-type(2)>div[class^="col"]>div{
height: 100px;
}
.row:nth-of-type(3)>div[class^="col"]>div{
height: 200px;
}
[/css]
Step3
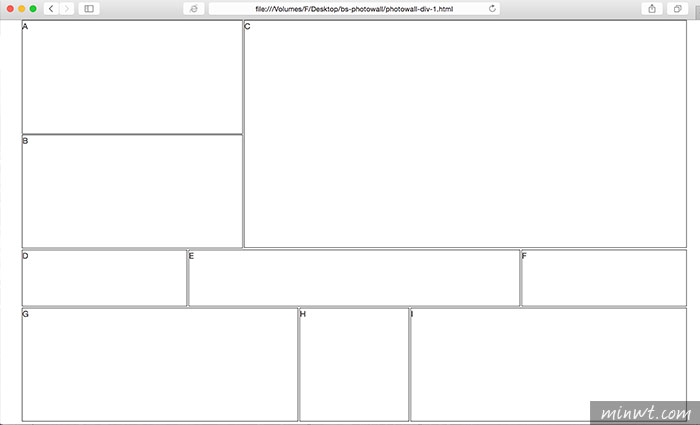
先預覽一下畫面,可看到相片牆的基本框架已完成。
Step4
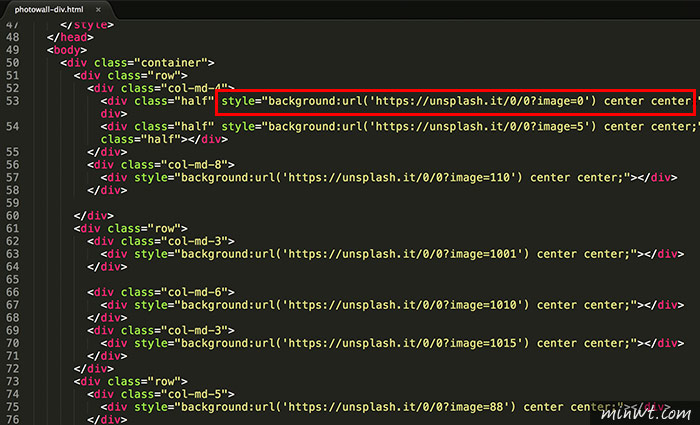
這時再把原來div內的英文字拿掉,並在div中以背景的方式,將圖片引用到div中。
Step5
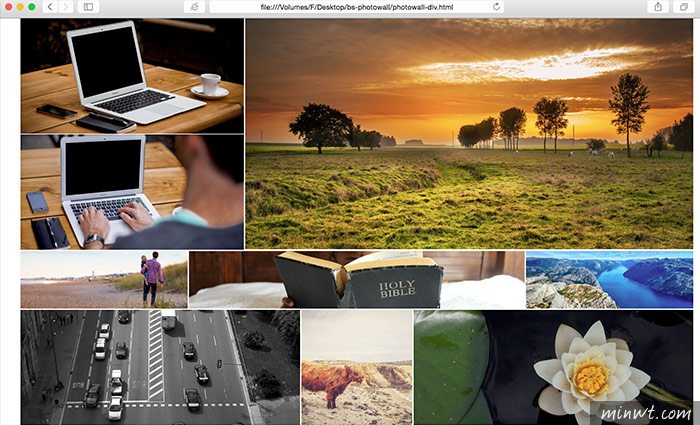
這樣相片牆就完成了,是不是超簡單呀!
Step6
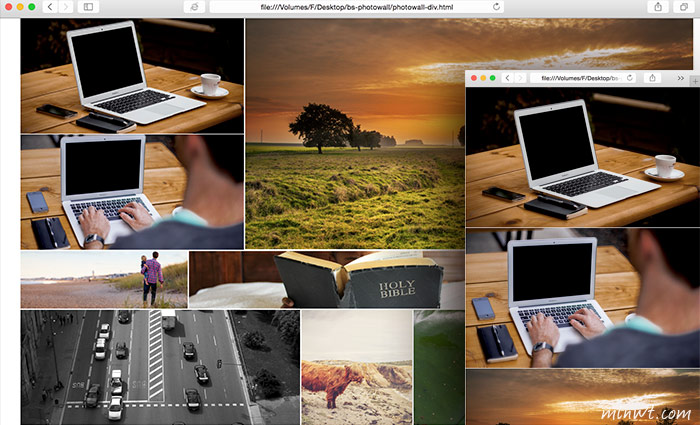
最後再修正css,讓相片牆在手機版時,高度則固定為300像素。
[css]
@media(max-width: 640px){
.row>div>div{
height: 300px !important;
}
}
[/css]
Step7
這樣就大功告成啦!
[範例預覽]

