

Bootstrap一直以來是目前相當主流的RWD框架,而它的好用只要用過就回不去了,尤其是它的網格系統,就足足可少寫上千行的CSS設定,再加上內建就有許多常見的網頁特效可套用,像是導覽列、廣告輪播、手風琴選單、滾動固定….等,且在套用時,完全無需撰寫任何的Javascript,就可將這些特效應用於網頁中,讓設計師更可將心思放在網頁的視覺設計。
為了讓開發更快速,因此梅干先前也分享了幾款的Bootstrap的視覺化設計工具,讓許多網頁設計師,透過拖拉的方式,就可快速的打造出RWD的網頁,而每一套各有優缺點,而梅干最近發現一套,既可拖拉,又可手動的修改HTML、CSS、JS,甚至在匯出後,原始碼也相當的乾淨與單純,都可再透過其它的編輯器,再進行修改,因此現在就一塊來看看Bootstrap Studio吧!
Bootstrap Studo
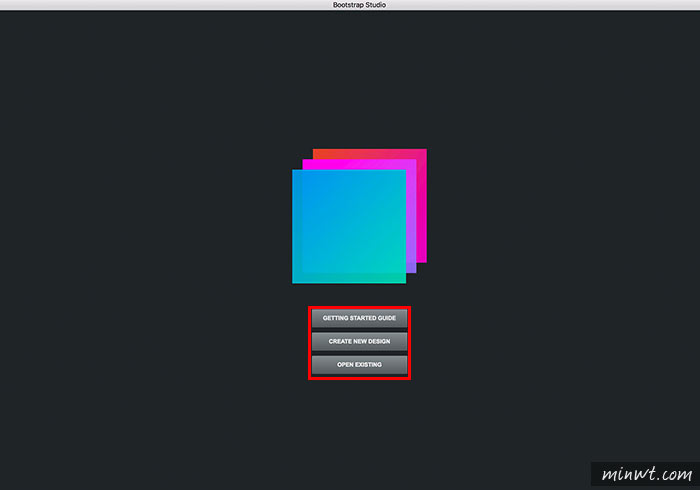
Step1
當安裝完畢,啟用後點下方的按鈕,建立專案。
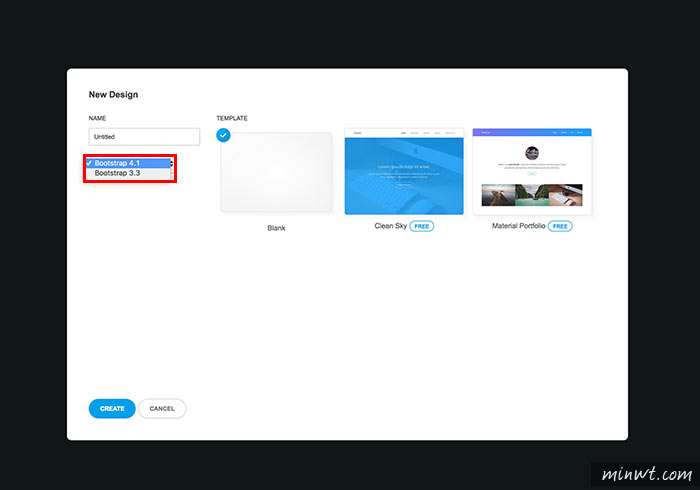
Step2
接著再選擇Bootstrap的版本,以及樣版。
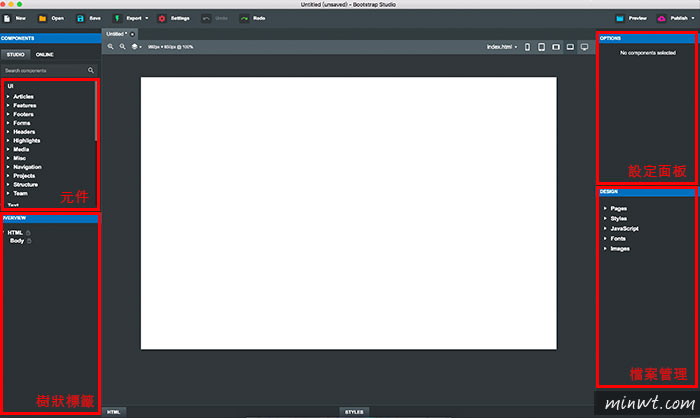
Step3
選擇好後,就會進入Bootstrap Studo編輯畫面,而它的界面相當的簡易單純,就四大區塊。
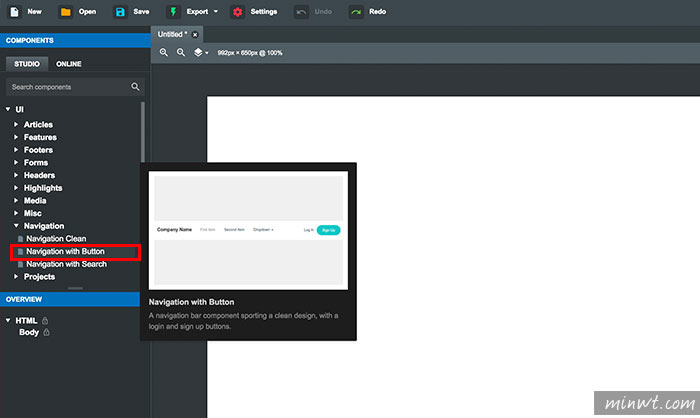
Step4
左上角是所有Bootstrapd元件清單,當滑鼠滑到元件上方,就可即時預覽縮圖。
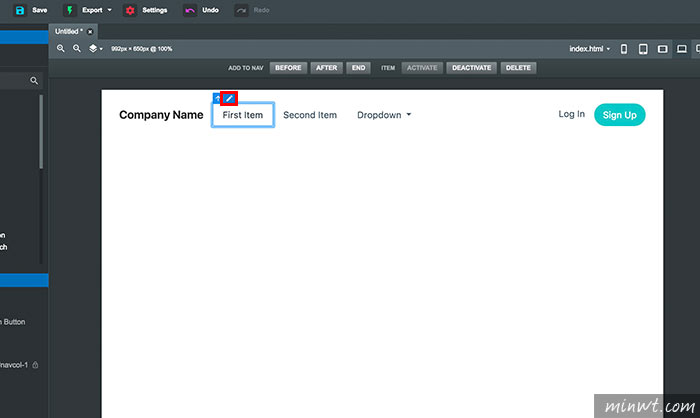
Step5
再拖曳到中間的工作視窗中,再點剛所拖曳的元件,上方就會出現編輯圖示,進行微調。
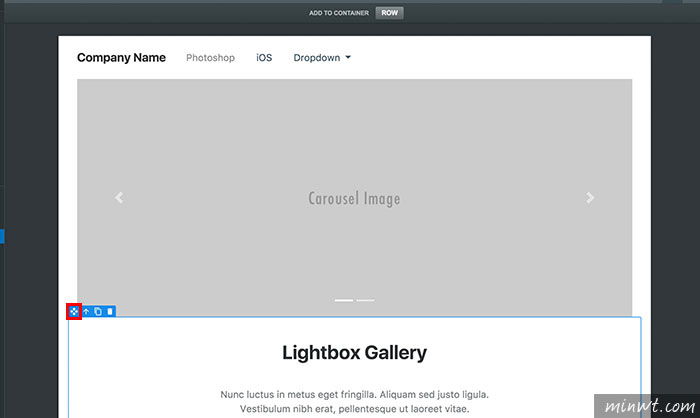
Step6
當要改變排序時,只需拖曳十字符號,就可改變區塊順序。
Step7
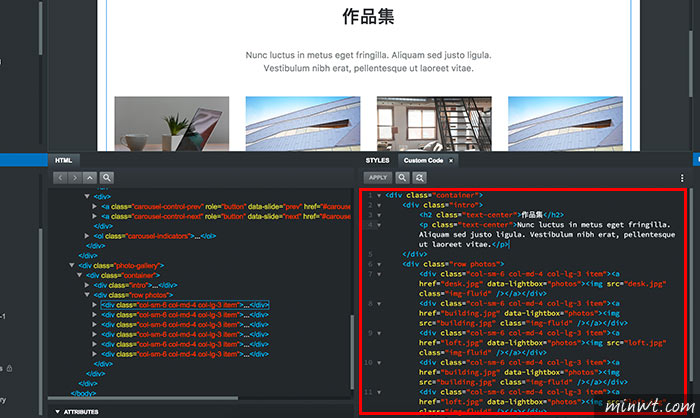
而Bootstrap Sudio最棒的一點,就是可將元件轉成自訂HTML。
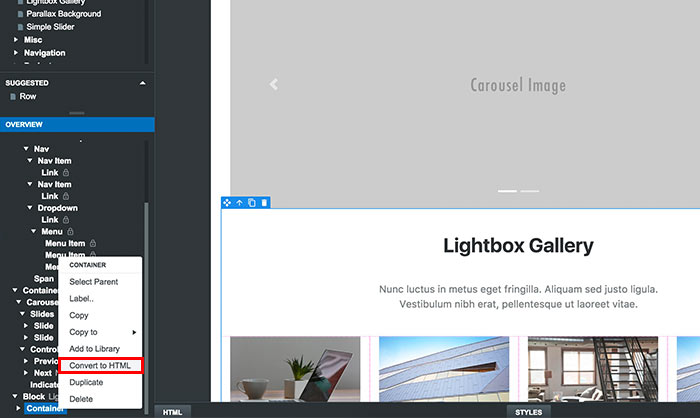
Step8
接著就可改變它的HTML原始碼,這一點相當的方便,但在轉完後,左的樹狀結構,就會變成CUSTOM HTML。
Step9
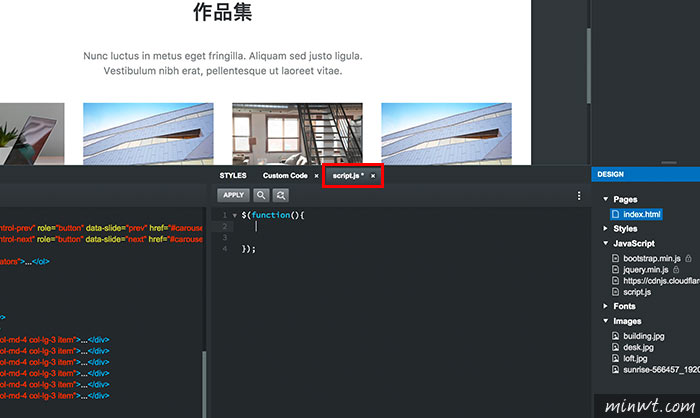
同時也可自訂javascript。
Step10
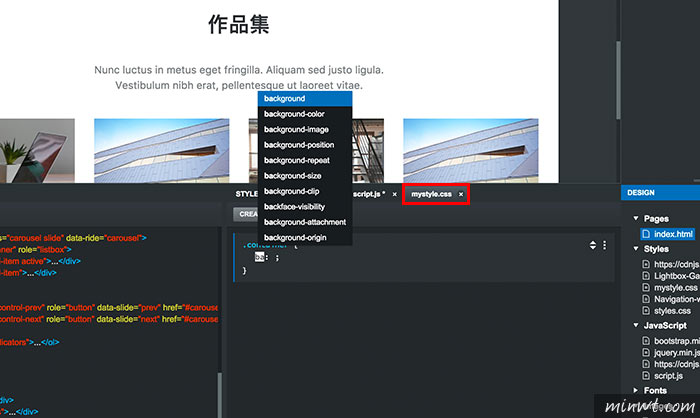
還有CSS樣式,甚至也有提示詞功能。
Step11
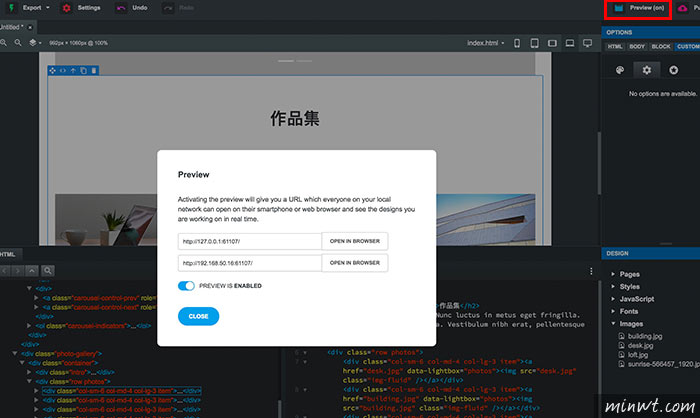
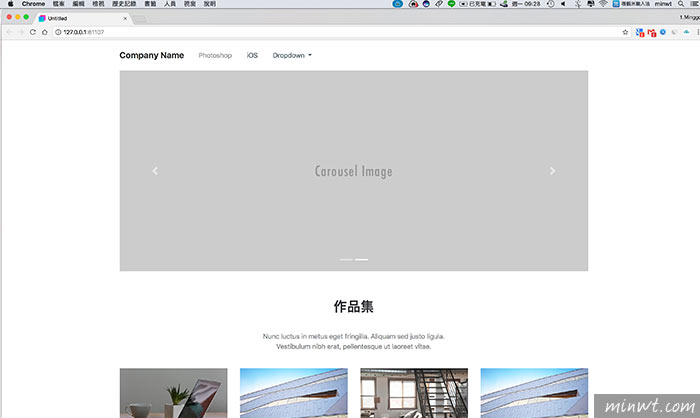
而它的預覽功能也很強大,除了本機看,手機也可連來進行檢測。
Step12
這樣就可預覽剛所編輯後的畫面。
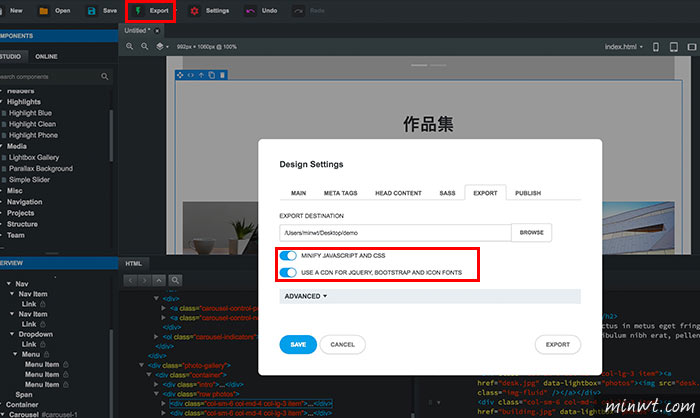
Step13
當按Export,就可把專案匯出,甚至還可進行壓縮。
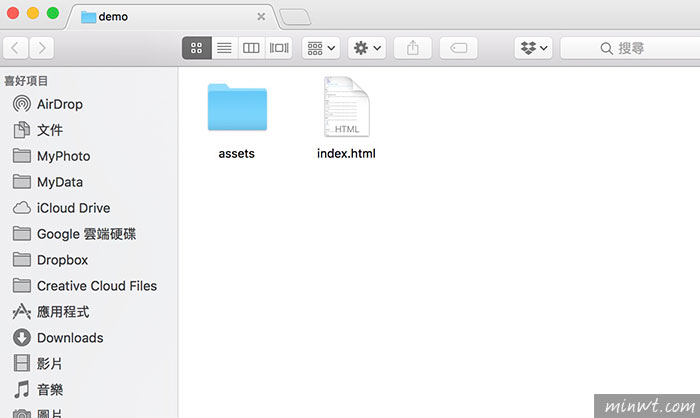
Step14
輸出後,可看到所有的元件,都會存放在assets資料夾中,且裡面的碼都已壓縮了,因此就可將它直接上傳到實體的空間中啦!
#官方示範影片: