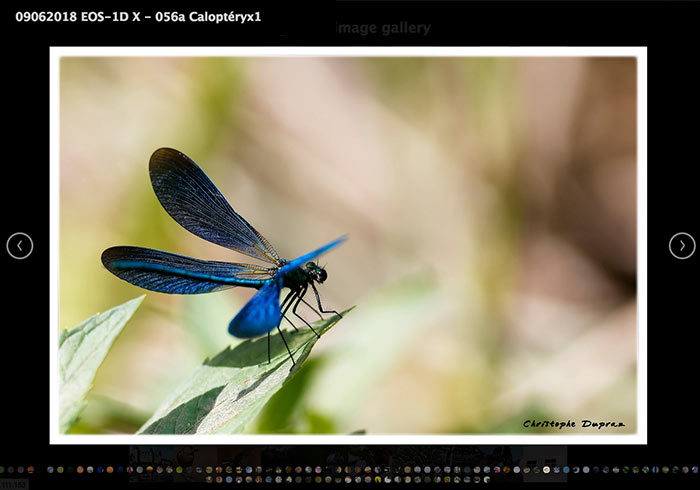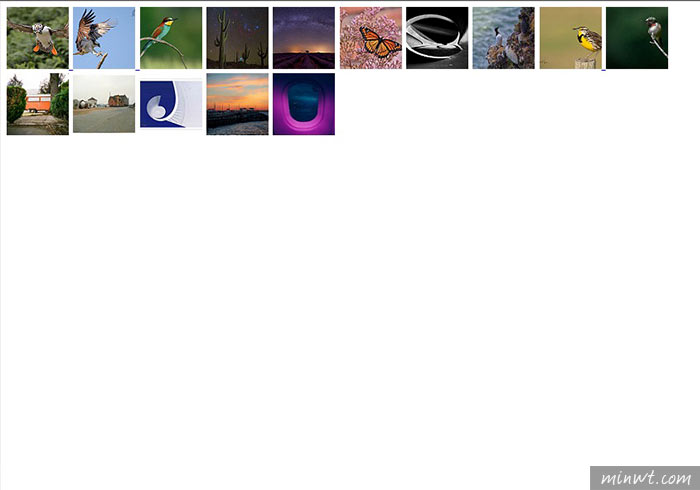
最近正好有朋友,與梅干提到有沒有像iPhone的相簿的套件,本來梅干想說自行來刻刻看,但光想到那些事件,再加上RWD後,立即讓梅干打消念頭,於是找了好久,終於找到「Blueimp Gallery 」的套件,不但功能極為相似,甚至還相當的強大,同時再經由梅干加工後,現在與iPhone的相簿極為相似,有需要的朋友,現在也一塊來看看囉!
Blueimp Gallery
套件名稱:Blueimp Gallery
套件下載:http://blueimp.github.io/Gallery/
套件下載:http://blueimp.github.io/Gallery/
Step1
首先將「Blueimp Gallery」的CSS加到, 網頁的<head>~</head>中。
<link rel="stylesheet" type="text/css" href="//cdnjs.cloudflare.com/ajax/libs/blueimp-gallery/2.33.0/css/blueimp-gallery.css">
<link rel="stylesheet" type="text/css" href="//cdnjs.cloudflare.com/ajax/libs/blueimp-gallery/2.33.0/css/blueimp-gallery-indicator.min.css">
Step2
接著再把Javascript放置在</body>之前。
<script src="//cdnjs.cloudflare.com/ajax/libs/jquery/3.3.1/jquery.min.js"></script>
<script src="//cdnjs.cloudflare.com/ajax/libs/blueimp-gallery/2.33.0/js/blueimp-helper.min.js"></script>
<script src="//cdnjs.cloudflare.com/ajax/libs/blueimp-gallery/2.33.0/js/blueimp-gallery.min.js"></script>
<script src="//cdnjs.cloudflare.com/ajax/libs/blueimp-gallery/2.33.0/js/blueimp-gallery-fullscreen.min.js"></script>
<script src="//cdnjs.cloudflare.com/ajax/libs/blueimp-gallery/2.33.0/js/blueimp-gallery-indicator.min.js"></script>
<script src="//cdnjs.cloudflare.com/ajax/libs/blueimp-gallery/2.33.0/js/jquery.blueimp-gallery.min.js"></script>
Step4
當把CSS與JS都載入後,接下來先建立一個div,並將class與id名稱,命名為links後,再把圖片與連接放在這個div中。
<div id="links" class="links">
    <a href="01b(大圖).jpg" title="圖片名稱" data-gallery="">
        <img src="01s(縮圖).jpg">
    </a>
    <a href="02b(大圖).jpg" title="圖片名稱" data-gallery="">
        <img src="02s(縮圖).jpg">
    </a>
    …..
</div>
Step5
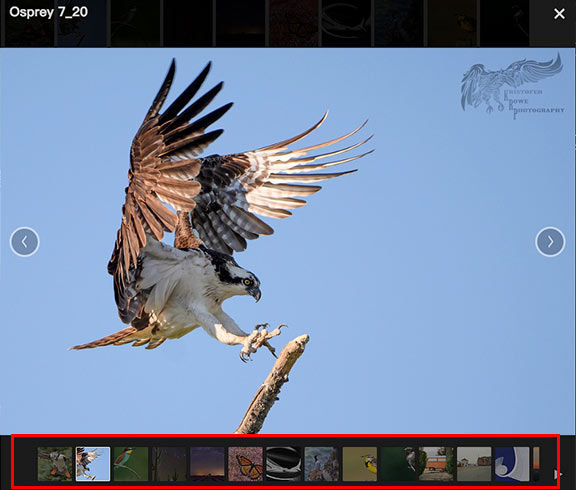
都完成後,就可以正常運作了,但內建的Blueimp Gallery再點縮圖後,縮圖就會變成一小顆一小顆的圓形,顯示在下方,不要說不好點,就連預覽都很吃力。

Step6
接著加入梅干特調好的CSS樣式。
.blueimp-gallery > .indicator > li {
  display: inline-block;
  width: 50px;
  height: 50px;
  margin: 6px 3px 0 3px;
  -webkit-box-sizing: content-box;
     -moz-box-sizing: content-box;
          box-sizing: content-box;
  border: 1px solid transparent;
  background: #ccc;
  background: rgba(255, 255, 255, 0.25) center no-repeat;
  border-radius: 2px;
  box-shadow: 0 0 2px #000;
  opacity: 0.5;
  cursor: pointer;
}
.blueimp-gallery>.indicator{
  overflow-x: auto;
  overflow-y: hidden;
  white-space: nowrap;
  -webkit-overflow-scrolling: touch;
  -ms-overflow-style: -ms-autohiding-scrollbar;
}
Step7
這樣下方的縮圖,就會變成方形啦!不但好點,且也容易辨視。

Step8
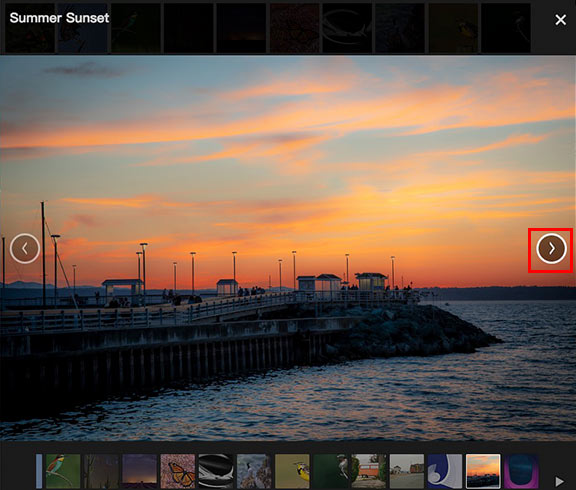
當滾動上方的大圖時,下方的縮圖也會跟著切換,但超出時,卻不會自動換頁,這時再加入下方的javascrip修正碼,就可解決在超出範圍時,自動換頁啦!
document.getElementById('links').onclick = function (event) {
    event = event || window.event;
    var target = event.target || event.srcElement,
            link = target.src ? target.parentNode : target,
            options = { index: link, event: event },
            links = this.getElementsByTagName('a');
    // blueimp.Gallery(links, options);
    var gallery = blueimp.Gallery(
            links,
            {
            index: link, event: event,
            onopen: function () {
                    // Callback function executed when the Gallery is initialized.
            },
            onopened: function () {
                    // Callback function executed when the Gallery has been initialized
                    // and the initialization transition has been completed.
            },
            onslide: function (index, slide) {
                    //console.log("onslide:"+index);
                    // Callback function executed on slide change.
                    var get_index = index+1;
                    var get_w = $('.indicator').width();
                    var get_item_num = Math.floor(get_w/52)-1;
                     var page_index =  Math.floor(get_index/get_item_num);
                    console.log("onslideend:"+get_index+"/"+get_w+"num:"+get_item_num+"page:"+page_index);
                    $('.indicator').scrollLeft(page_indexget_w);
            },
            onslideend: function (index, slide) {
                    var get_index = index+1;
                    var get_w = $('.indicator').width();
                    var get_item_num = Math.floor(get_w/52);
                    var page_index =  Math.floor(get_index/get_item_num);
                    console.log("onslideend:"+get_index+"/"+get_w+"num:"+get_item_num+"page:"+page_index);
                    $('.indicator').scrollLeft(page_indexget_w);
                    // Callback function executed after the slide change transition.
            },
            onslidecomplete: function (index, slide) {
                    // Callback function executed on slide content load.
            },
            onclose: function () {
                    // Callback function executed when the Gallery is about to be closed.
            },
            onclosed: function () {
                    // Callback function executed when the Gallery has been closed
                    // and the closing transition has been completed.
            }
            }
    );
};
Step7
加入後,再滾動上方圖片時,當超出顯示範圍時,就會自動換頁啦!

#範例預覽

