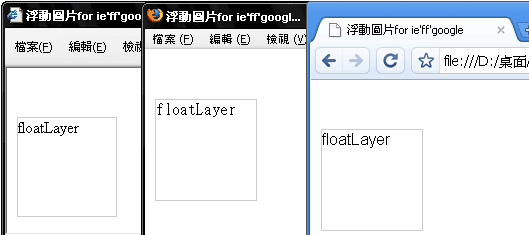
先前曾用Dreamweaver+javascript,實作出一個浮動圖片,雖然很簡單也很方便,但是此作法只行在IE瀏覽器下使用,若在其它的瀏覽器中,則完全躺平沒任何反應,因此今天又花了一點時間,又實作了一個浮動圖片,且該版本可同時在IE、Firefox、Google等瀏覽器,且此作法比上次還來的更容易喔!
Step1
將下列語法複製到指定的地方。
複製到<head>….</head>之間:
#javascript
function init() {
    document.getElementById(’flotLayer’).style.visibility = ‘visible’;
    MoveLayer(’flotLayer’);
}
function MoveLayer(layerName) {
    var x = 50;//設定浮動圖片的x起始位標
    var y = 50; //設定浮動圖片的y起始位標
    var _y = document.body.scrollTop + y;
    var diff =(_y - parseInt(document.getElementById(’flotLayer’).style.top))*.40;
    var rey=_y-diff;

document.getElementById(’flotLayer’).style.top=rey;
document.getElementById(’flotLayer’).style.right=x;
setTimeout("MoveLayer(’flotLayer’);", 50);


}
Step2
將下列語法複製到指定的地方。
複製到<body 之間:
<body onLoad=“init()”>
<div id=“flotLayer” style=“position:absolute;width:61px;height:59px;z-index:20;visibility:hidden;left: 10px;top:0px;”><!–左–>
    <!–<div id=flotLayer style=“position:absolute;width:61px;height:59px;z-index:20;visibility:hidden;right: 10px;top:0px;”> 右–>
    <div style=“width:100px; height:100px; border:solid 1px #cccccc”>floatLayer</div>
</div>
※若要將浮動圖片改為左邊時,只要將紅色字改成left即可。
[範例預覽]

