什麼IIS也能跑PHP,是的你沒看錯,一般PHP則需要透過Apache或liunx下才行運作,但Apache較美中不足的是,在控制面版的部分,並無圖形化界面,因此在設定上都需靠指令的方式,同時當一台主機已安裝了IIS伺服器時,再安裝Apache時,則需修改port的部分,然而這樣相當的不便利,因此上網找了許多的文章,經梅干桑測試過,此方法最為簡易且能正常運作,因此最近利用了空檔時間,稍作整理與各位一同來分享。
☞ 檔案下載:
1.ZendOptimizer:
2.php-5.1.2-Win32:
☞ PHP5安裝步驟:
Step1
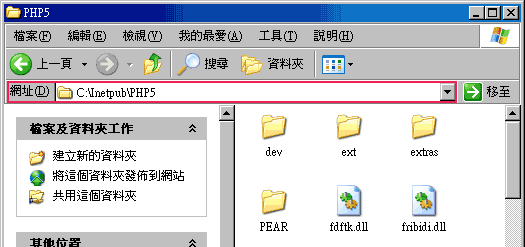
下載【php-5.1.2-Win32.rar】解壓到C:\Inetpub\PHP5下。
Step2
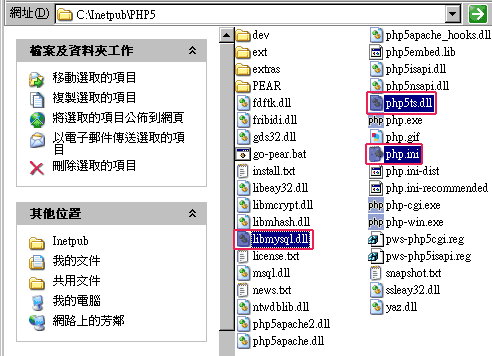
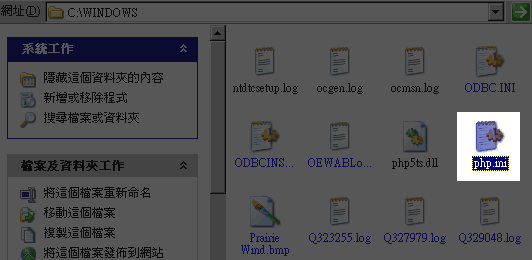
分別將libmysql.dll、php5ts.dll、php.ini拷貝到C:\WINDOWS下。

Step3
將剛所複製的php.ini開啟於記事本。
Step4
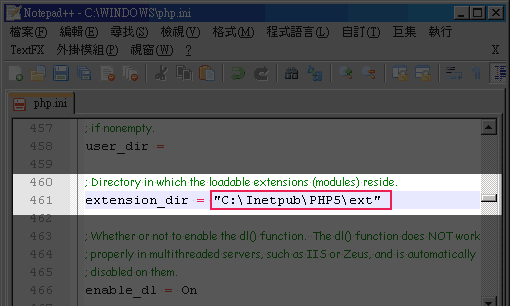
將extension_dir 設為C:\Inetpub\PHP5\ext。
☞ ZendOptimizer安裝步驟(加速php執行速度):
Step1
按下【Next】。

Step2
選擇I accept the terms of the license agreement

Step3
修改安裝路徑到C:\Inetpub\Zend

Step4
選擇IIS

Step5
按下【Next】。

Step6
按下【Next】。

Step7
出現了Web Server Restart的警告對話框,選擇【是】後再按下【Install】。
Step8
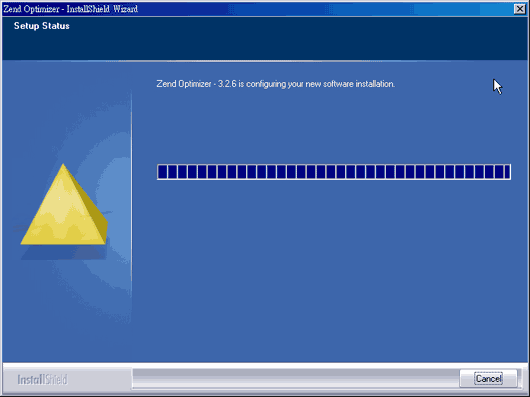
安裝進度。
Step9
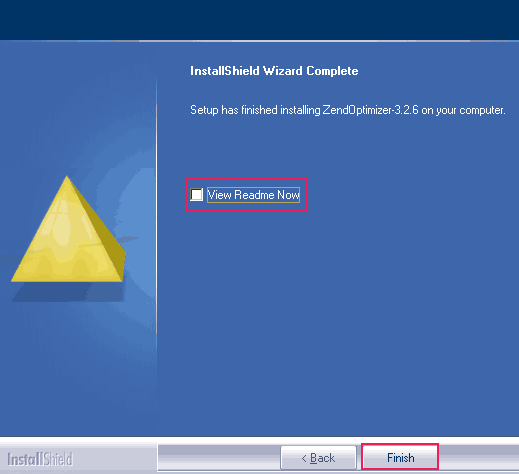
按下【Finish】完成安裝。
☞ IIS附加設定:
Step1
對著【預設的站台】 按下滑鼠右鍵選擇【內容】。

Step2
切換到【ISAPI 篩選器內容】,篩選器名稱設定為php、 執行檔設定為C:\Inetpub\PHP5\php5isapi.dll。

Step3
完成上述設定後,按下確定鈕,重啟後看到綠色箭頭表示安裝成功。
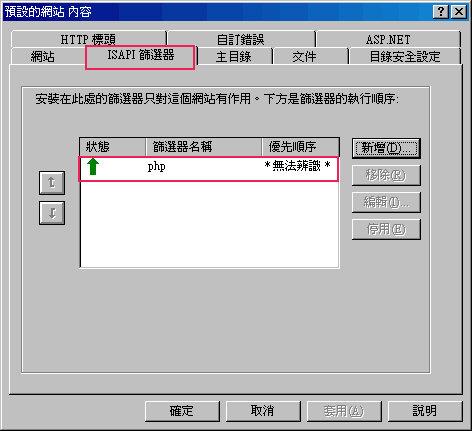
Step4
進入預設的網站/內容/主目錄,點選下方的設定鈕。

Step5
執行檔設為C:\Intpub\PHP5\php5isapi.dll,副檔名設為.php。

Step6
開啟記事本輸入<?php phpinfo(); ?>
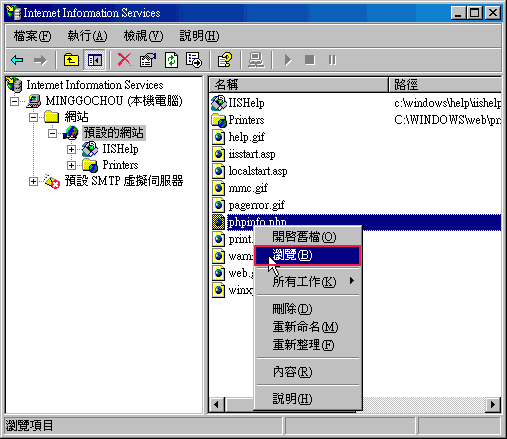
並儲存到C:\Inetpub\wwwroot\phpinfo.php,開啟IIS控制台,並對著phpinfo.php按下滑鼠右鍵,選擇瀏覽。

Step7
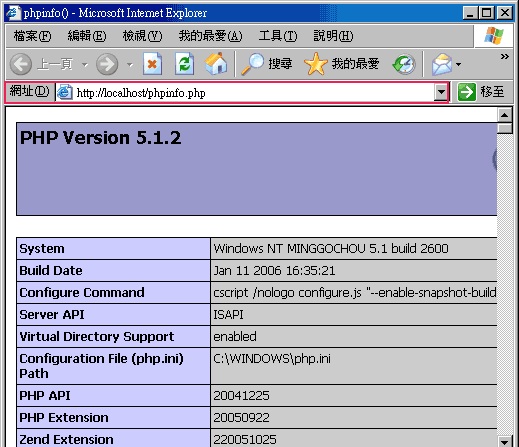
當看到下列畫面,恭喜你的IIS已支援php。
